
Happy little beads
Over the past few months or so, I decided that I really needed a new hobby to keep myself entertained. I wanted something that didn’t require a lot of equipment and could keep me entertained for an hour or so – because lets face it, there’s only so much YouTube, Tumblr, Facebook, and Pinterest surfing you can do before you reach that state of boredom that you decide to start the cycle all over again in hopes that something has updated.
Usually, I would turn to a book or to video games – but I wanted to try something new.
My last project, Knitting, ended up a disaster because somehow I still don’t know how to read knitting patterns and that the only thing I’ve been able to knit is a Scarf.
I got involved in Loom Bands for while – only because I worked with some awesome children and even so, I got bored of that pretty quickly.
So, Hello Perlers!
Little dainty melty beads
Perler Beads, Hama Beads, Melting beads or Iron on beads are made of a special low density food grade plastic that allows the beads to melt when in contact with low heat. These shouldn’t be confused with normal beads that you can find at your local dollar store as those beads will smoke up and burn. I may or may not have tried… maybe.
Perling is a popular craft for all ages, but it seems to have become a lost art and craft project for many generations of today and seems to stick around thanks to the crafters of the gaming/anime/manga communities as they re-create their favourite characters, items and scenes.
The Perks of Perling

I’m ready to colour in this bow!
The general appeal is the ability to create wonderful looking pictures with nothing but a few beads (that’s an understatement, hundreds is probably the better term), peg boards, some baking paper, an iron and your imagination is all you need to create something awesome
So why sit around with hundreds of beads that are probably going to end up on the floor and a few burnt fingers?
- It’s a great educational tool for children.
- There is endless educational value from shape and colour recognition, counting, pattern making and using fine motor skills – don’t worry, about small bead sizes as there are larger beads available for smaller hands.
- It’s soothing.
- No, really – trust me. There’s something about placing beads by hand onto a peg board that makes it so relaxing to do.
- It’s actually really fun
- Who does not actually want to melt stuff?
- The end product always looks good on one end – no matter how melted the other side gets.
So, how do I get such fantastical melty beads and how do I start?
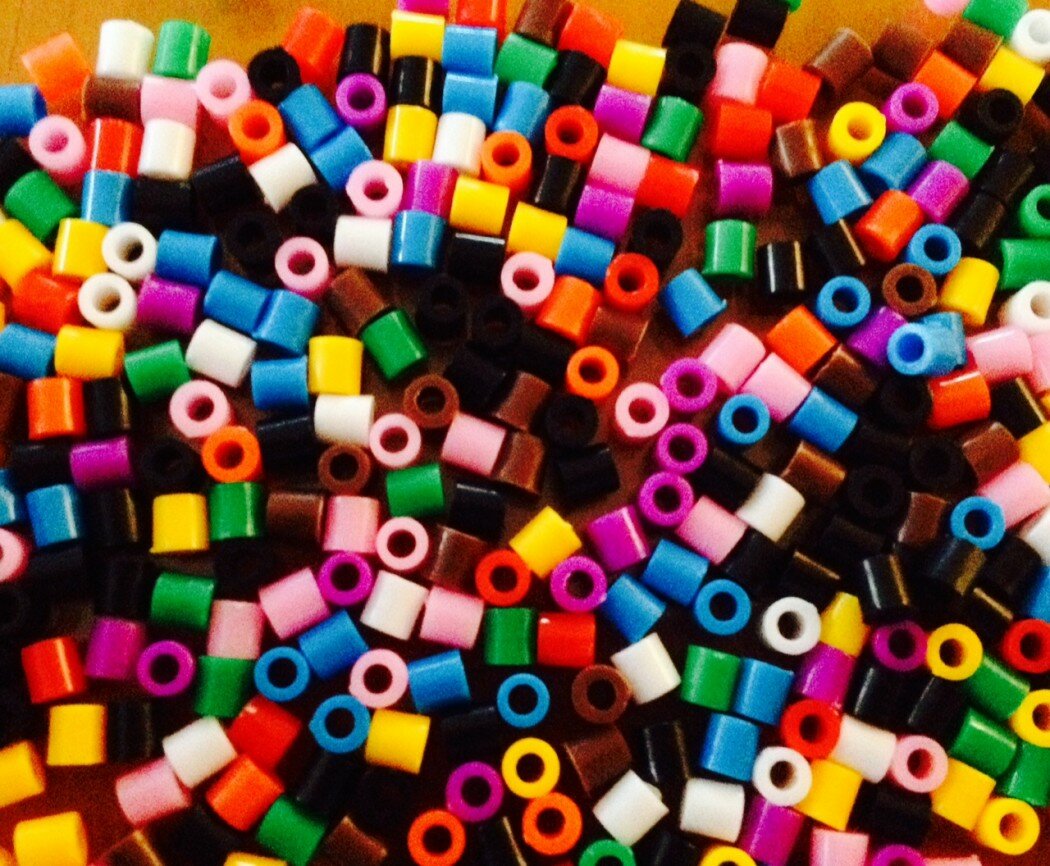
All the beads…
First of all, starting up isn’t exactly cheap.
Assuming you have access to Baking Paper and an Iron you’re already on your way

Helloooo Pokemon (and Bub!)
You’ll need to get a couple of pegboards and some beads and when you see the said beads, you need to decide on your colour palette and if you’re anything like me, you’ll want a rainbow of colours and then you want different shades of each colour. Take the bulbasaur for example on the picture to the right. Bulbasaur(the Pokemon at the bottom) consists of three different shades of green, red, white and black, whilst Bub from Bubble Bobble (the green dino on the left) consists of basic green, red, white and black.
Depending on what you want to make, most designs only require 3 colours or less.
When buying your beads, you can buy them as separate colours or you can get a bulk container of multi coloured beads. Single colours usually come in a pack of 1000 and containers can have a count from 3000 to 3200 depending on the brand you get.
I bought my beads from my local Lincraft which ranges from $5 to $25 for beads and boards but you should always check your local Craft Stores as they may have off brand perler beads available for you to use. I have also seen them floating around on TradeMe and you can always buy them online too, so don’t worry if you can’t exactly find them.
To start, you should have an idea in mind of what you are going to create and stick to it.
There is no point starting a project and changing your mind halfway through – otherwise you have the fun task of removing (possibly) at least 100 beads from your peg board.
If you don’t know what to make, take a quick google around (Google images is your friend) and find a pattern and stick to it. Patterns are usually straight forward to read – count the number of beads, match the colours and off you go. What helps me is to take a look at the colours that are being used and organize the colours out before starting.
Once you decided, just let your imagination go wild – want to make a cute kitty perler? Meow, go for it.
Want to make the map image of Truce Village in Chrono Trigger? Go for it – this guy did and he won at life.
After that, all your beads are pretty and perfect, slap on some baking paper on top of that and using the lowest setting on your iron – melt it up, cool it down and you’ve finished your first project! Go you! I’m proud of you! You did it!
I’d love for you to show me any creations that you’ve made – have fun!

The prettiest blue bow :3
Lita’s cheat sheet for a starter Perler Kit
- At least two pegboards that can connect together
- The Hama brand has a pack of 4 available, I managed to get mine for around $14 at Lincraft
- 2 packs of Black and 1 pack of White beads
- Red, Yellow, Blue, Green
- A iron
- Baking paper
Optionals
- Shaped Boards such as Hearts/ponies/circles
- Masking Tape – The masking Tape method for melting beads is probably the most popular way to melt beads as it stops the beads from moving when ironing and save your pegboards too. .